We start off with this truck recovered from a roll-over. It was a sewer vacuum truck in it's early days. The damaged vacuum tank has been removed and the repairs have begun.
We turn this truck above into the truck seen below.
First we remove the transmission and replace the damaged bell-housing, at the same time we fit a new clutch and check the flywheel for run-out. The photo below shows the bell-housing truly destroyed in the roll-over.

Next we remove all the damaged and destroyed ancillary items, the separator, vacuum pump unit, water cooling system and air tanks.
The vacuum tank is repaired. Legs are welded onto the sides of the tank to support the new larger and improved water tanks. Sandblasted and painted she looks the picture.
In this photo the tank on our tilt tray ready to be mounted onto the Acco.
Tank fitted to the Acco truck, The project is starting to take shape.
Next comes the new water tanks, fitted to the left and right hand side of the vacuum tank.

Now is the time to start repairing all the ancillary items that got damaged in the accident.
Shall we start with the battery box!
A new vacuum pump coolant tank and oil reservoir tank are purchased. These have to be modified to take on there new work role.
Here the coolant tank is fitted to the chassis, provision is made to fit a n electric fan in the future should the vacuum pump generate to much heat.
The oil reservoir is mounted behind the diesel tank and an eye glass fitted to observe the oil level, very critical to the longevity of the vacuum pump.

Next we build a new scrubber tank, the black cylindrical drum on the left bottom of the photo, and mount it. The vacuum pump is mounted on a new platform and new drive shafts are fabricated. Here Nathan is fitting new vac hoses and fastening up the clamps.
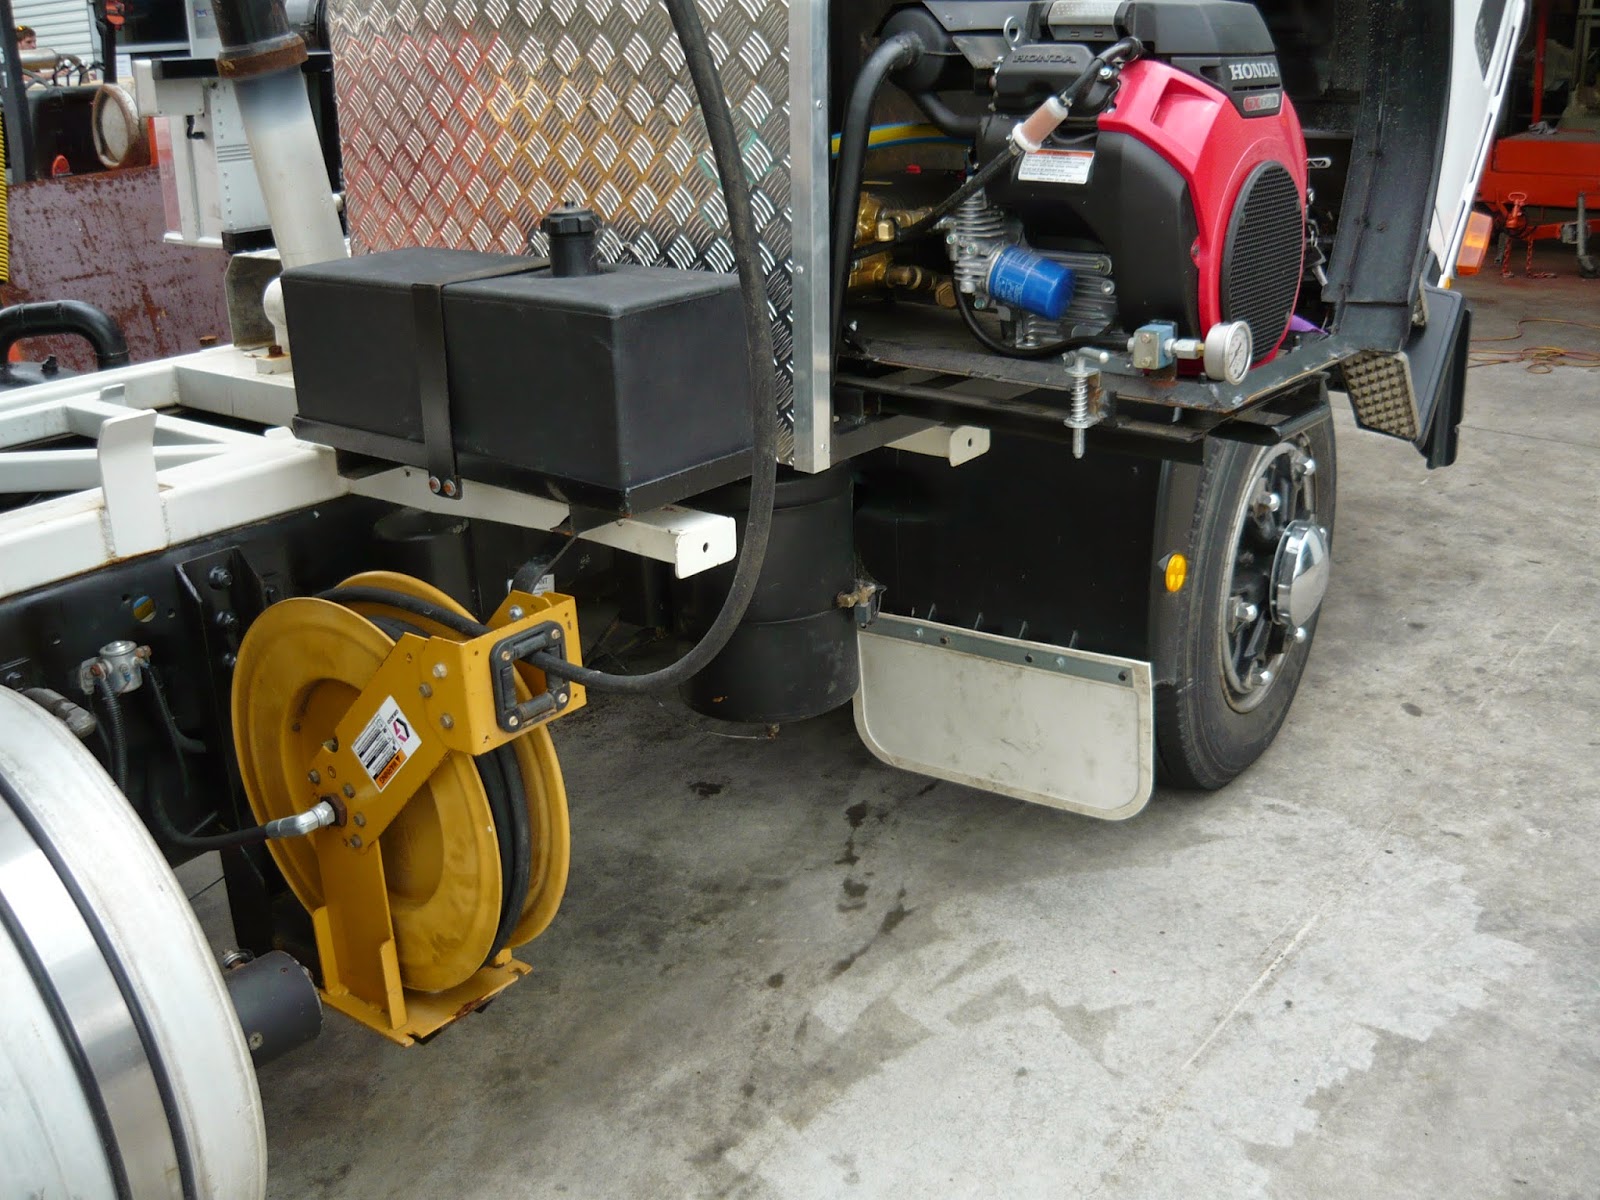
What we need now is a high pressure / high volume water pump.
This Honda set up will do just right.
We need to fit an idle-up solenoid to the new engine for on-demand pressure. this was a bit fiddly, worked a teat though!
Fabricate a box with a sliding bottom so that the engine and pump could be service and maintained with ease was the next
After plumbing up the supply water and running it through a filter it is time to start on the high pressure side of things.
We fit a retractable heavy duty hose reel that can cope with the flow and pressure we are going to use when we non-destructive dig.
To control and monitor this piece of equipment we need a great control panel. This we fabricate in-house and wire up to incorporate the following features.
1) Emergency shut-off system for the truck engine.
2) Emergency shut-off system on the high pressure water pump.
3) Emergency shut-off system on the vacuum system.
4) Low water shut-down to protect the high pressure water pump.
5) Warning light for Low water
P.T.O. Engaged.
Ladder up.
Coolant pump On.
Idle -up for the truck engine.
Idle-up for the water pump motor.
6) Vacuum ON_OFF
7) Work lights.
8) Truck engine idle-up > to 1500 rpm.
To keep the Masport Vacuum pump running at the correct rpm we fitted an electric idle-up solenoid to the Cummins engine fuel distributor pump. In the photo it is pinched between the yellow hose clamp blocks.
After mush checking and testing we are ready to see how this whole system preforms. We hook up a vacuum gauge to the main suction port and run the machine up to pressure.
Not bad for a vacuum pump that size and the gauge reads 9' of mercury.
Below are a few photo's of the completed non-destructive truck and set-up.
Enquiries regarding this type of repair are welcome.
Call or text Charlie on 0403 861 597
You are also welcome to contact us on the form below.


