Let's be clear, I know nothing at all

"You Will Never Walk Alone"
Showing posts with label Fabrication. Show all posts

Friday

Spring Loaded loading ramps - Fabrication.

 Here is an exersize that involved fitting a set of springs to the loading ramps.

Included are some helpfull tables and a video or two that guides one through the prosses.

This would reduce the weight of the rampsand make it easier to lift when they are on the ground.

This is a popular conversion here in Australia, especially on trailers and horse floats.


Step on is to work out what type and how strong the spring must be.
The following tables can help.


So we start off with removing the existing ramps.
The bolts that kept the ramps to the load tray need to be replaced with a 20 mm steel bar


This picture shows what we need to accomplish.


New eyes need to be welded on the loading ramps with a 20 mm hole for the rod that
makes the hinge to pass through,


The spring in place to calculate the position of the small leg of the spring.


Checking out the clearance of the loading ramp and the hinge.


Nathan making the final welds and adjustment to the ramp.


One side all welded together and ready for a coat of paint.


Nathan screws the number plate back on and the job is almost done!


Job painted and completed.

Check out the video below that runs you through the step.


Sunday

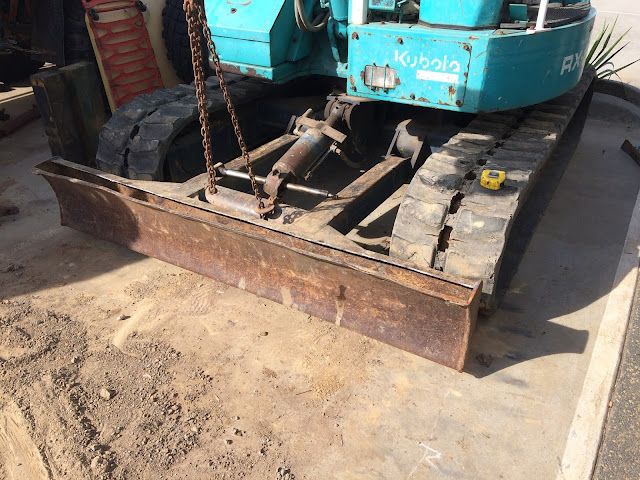
Kobelco 3.5 ton Dozer Blade Repair - Reconditioning.

 After using this excavator as a bulldozer for many years the dozer blade has had enough.

As this was an older machine and purchasing a replacement was exorbitant, the 

owner requested us to rebuild the blade.


Step one.

Remove the dozer blade and turn it upside down.

This makes it easier to straighten the distorted face of the blade.


Step two.
Attempt to remove all the years of compacted soil from inside the blade.


Step three.
Using a small grinder cut out the scrap part of the blade.

Step four.
Peel away the scrap to expose the sediment stuck in the blade.


Step five.
This proved to be really difficult and time consuming, but had to be done.
Without removing the sediment it was impossible to bent the blade back into shape.

Almost there!
Where?


Step seven.
All cleaned up and the internals of the dozer blade is now hollow.
After straightening out the front cutting edge we welded in some new 10 mm plate.

Step eight.
The final touch to the blade is fitting and welding into place the 
cutting edged on the front of the dozer blade.


Hoist Moving Skids - Fabrication.

 Designed to move a 4 post hoist into position for a local Hoist Maintenance Company.

To date we have fabricated a number of special moving skids for:

Moving Lathes.

Positioning Glass Windows in High rise Buildings.

Shifting Plaster Board Around on High Rise Buildings.

Moving and Transporting Safes.

Timber Yards.

Air-conditioned Displays.

Industrial  Turbo chargers - Shipping.